How to Apply
Hey there! Ready to get those gorgeous salon-style nails at home? Here’s an easy, step-by-step guide to get you started! 🌸
What You’ll Need
- Semicured UV gel nail stickers
- A UV/LED lamp
- Nail file
- Nail buffer (optional)
- Alcohol wipe or nail polish remover
Need a Visual?
Scroll to the bottom of this page to watch our step-by-step video tutorial and see each step in action!
Step 1: Prepping Your Nails
Start by giving your nails a quick clean. Grab an alcohol wipe or a little nail polish remover to remove any oils or residue. This is the secret to getting the gel stickers to really stick! Then, shape your nails a bit with a file, and lightly buff the tops if you want that perfect smooth base.
Step 2: Find Your Perfect Fit
Each nails comes with multiple sizes, so you’ll definitely find one for each nail. Pick the sticker that’s closest to your nail size but doesn’t overlap onto the skin or cuticles. Once you’ve got the right size, carefully peel it off the backing—almost like peeling a sticker.
Step 3: Apply the Gel Sticker
Now, place the sticker just above your cuticle line and press it down. If you need to, stretch it gently so it sits nice and smooth on your nail. Press it down well to remove any little air bubbles.
Step 4: Cure Under the UV Lamp
Now comes the magic part! Pop your hand under the UV lamp and cure the sticker for 60 seconds. This makes it harden and fit your nail shape perfectly.
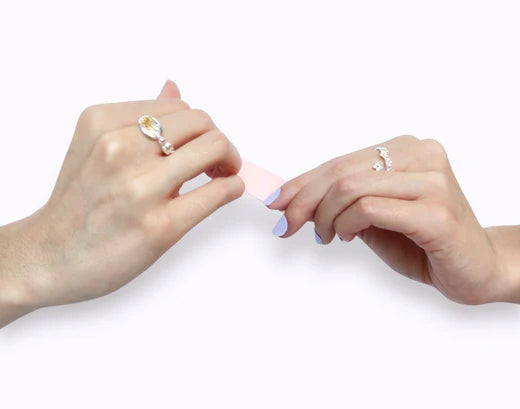
Step 5: File Off the Extra
If there’s any extra sticker extending beyond your nail edge, simply file it down for a flawless look.
And voilà! You’ve got gorgeous, long-lasting gel nails. 💅
If you need any help, feel free to contact us! :)